Monday, January 30, 2012

Project Update: Decker's Tar Soap by FOS Scale Models

The Decker's is all finished. It was fun build. In general I am happy with the way it turned out. There are few things I could have done differently or better but it is just like with  every model. There is always room for improvement.


Project Update: Fat Jimmy's BBQ

I finished the pit past weekend. I added few details which most likely could have been omitted since they will be hardly visible after the pit gets placed inside back addition. I have another BBQ project which is on back burner at the moment. It will have mobile BBQ pit which will be in open. Therefore, it will need more features than just simple shape representation. Besides the pit I made model of Great Pink Desert, i.e. diorama base, cut out sidewalks, chopped up a pile of firewood. I expect to do more work on Fat Jimmy's BBQ this week. I have finished Decker's and another commissioned kit most likely won't be here until next week.


Friday, January 20, 2012

Project Update: American Seltzer Company by Bar Mills

The American Seltzer coming together without any big problems. Bar Mills engineering in general is good. The problems I had so far are as follows. Two wrong windows. Included were 2 extra 12 pane windows and 2 8 pane windows were missing. Fortunatelly, I had two just the right size only not hi def version as included with the kit. Too wide front loading dock ceiling or too high side wall. Depends on how do you look at it. Slot for back loading dock too low. Bracing for side addition has to be offset by 1/16. However, it is visible through the windows if used so I think it is better if it is omitted. I don't think bracing is really needed there. It is all possible that roofing material is incorrectly precut in the area where roofs of taller part of the structure and side addition meet. The roofing material positions are engraved on chip board roofing. I just installed it and two mentioned roof sections don't meet at engraving. Everything else matches perfectly so I tend to discount possibility of assembly error.


Project Update: Fat Jimmy's BBQ

Major reason for this project to become a foster child was that I didn't like how back addition had turned out. The boards were all fuzzy and the netting didn't look realistic enough. I needed to redo it and I don't like doing something all over again. Also I wanted a BBQ pit which I had to scratchbuild since I couldn't find one already made. That fact probably tells how many more railroad modelers are in the north east compared to the south. Every scratchbuilding project involves at least some research and some head scratching. I don't have problem with research. I like it but I am like a heavy train - really slow to start moving. At some point I was even considering abandoning back addition and BBQ pit. When I got to wood staining for the roof top sign I tossed in few sticks for the back addition. That got me going. I had decided early on that would place the pit on brick base which I would make out of card stock. There was only one problem. I could design it in TurboCAD and unfold. However, then I had to add brick texture and I had failed in the past on quite few occasions. I even wasn't sure if it was all possible to do in Adobe Illustrator using imported drawing. It is but in AI version 8.0 you have to know a trick to connect all graphic primitives together and create an area. Version 8.0 is quite old and most of online help is for newer versions and it seems no trick is needed for them to work. After I learned the trick everything was cheaper than a mushroom. "Cheaper than a mushroom" is beautiful Lithuanian expresion to describe something that is really easy to do. What can be cheaper than free? Self respecting lithuanian would rather pick mushrooms in the woods than buy them at a store. Lets get back to the Fat Jimmys. So, I designed the brick base and applied Clever Models brick texture. And here is the final result.


At the same time I built back addition. This time around I used stocking for the netting instead of window treatment material. I think it looks better. Then I added few more lights. That guy Jimmy surely likes when it all is bright and shiny.


Project Update: Decker's Tar Soap by FOS Scale Models

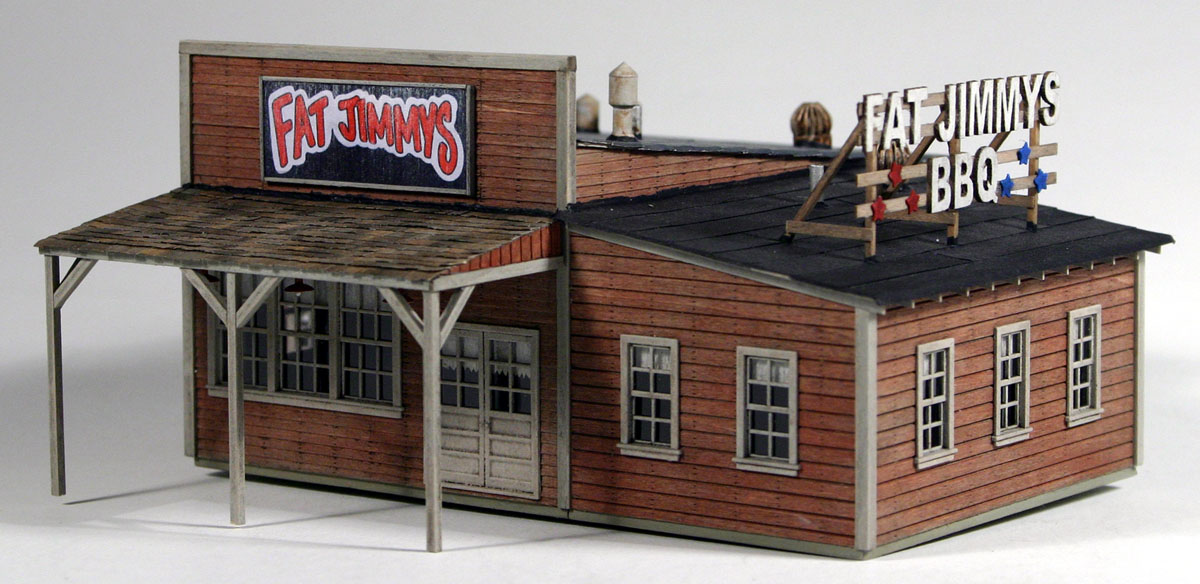
The Decker's is getting really close to being done. It could have been completed by now but first, I don't do any modeling on the 13th. I lost 6-8 hours right there. Then on Wednesday  I spent most of the evening working on Fat Jimmy's. It is all OK. I have been spending on Decker's pretty much all of my modeling time ignoring my personal projects and I don't have deadline to meet.
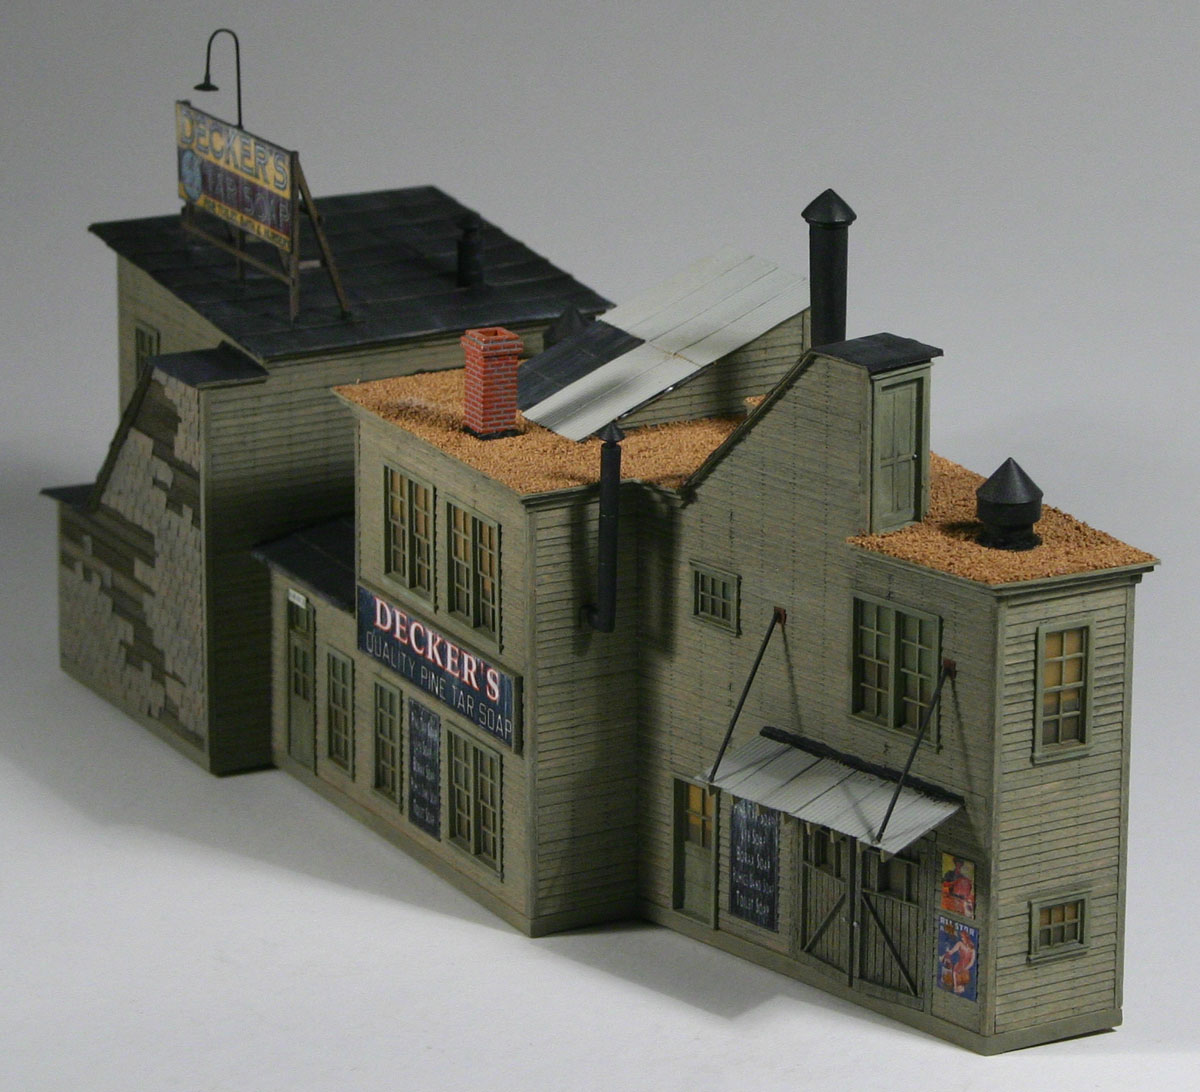
I ran into another little problem. I wasn't supposed to add corner posts to the little roof bump and to the roof access before I installing the roof itself. The instructions may mention that somewhere but the drawings don't imply assembly order in any way. So, first I cut wider opening in the roof card to accommodate corner posts. Then I realized that the trim no longer fit under the roof. In real life it would mean rapidly rotting trim. The model just didn't look right. Therefore, I cut out small pieces of chip board and glued in place. Then painted and weathered.
I attempted using included in the kit dirt to cover flat areas of the roof but it just didn't work for me. Instead I used proven method of ground fine Woodland Scenics ballast. It looks too light right now but weathering powders and oil wash will make it look like it should be.


Thursday, January 5, 2012

Project Update: Wicked Wanda's by Bar Mills

Very little progress in two or so months. All I have managed to do in that time is to build and install the fence. Clearly I have too many projects going on at the same time...


Project Update: Fat Jimmy's BBQ

Finally I got around to make the sign using laser cut letters provided by Jimmy Deignan - owner of RailroadKits.com and first follower of my blog. Honestly, most likely I would have procrastinated further hadn't Jimmy become follower. I also have added some decorations made of confetti I have picked up at Party City.


Project Update: Decker's Tar Soap by FOS Scale Models

First project update of 2012. The Decker's is progressing quite fine. I have encountered a problem with a trim that goes along the roof edge. Included plans provide templates for cutting 2x10s. I debated myself for a bit whenever to trust them or not. At a time it seemed like a good idea to glue trim on while walls were still flat. It proved to be a mistake. The templates account for corner posts in some instances and doesn't in others. Therefore, I ended up with 1/16th gaps. Instead of attempting to pry off 2x10s and risking to break something I will fill the gaps with stripwood. 3/64 goes on top so I think the fix will not be noticeable.