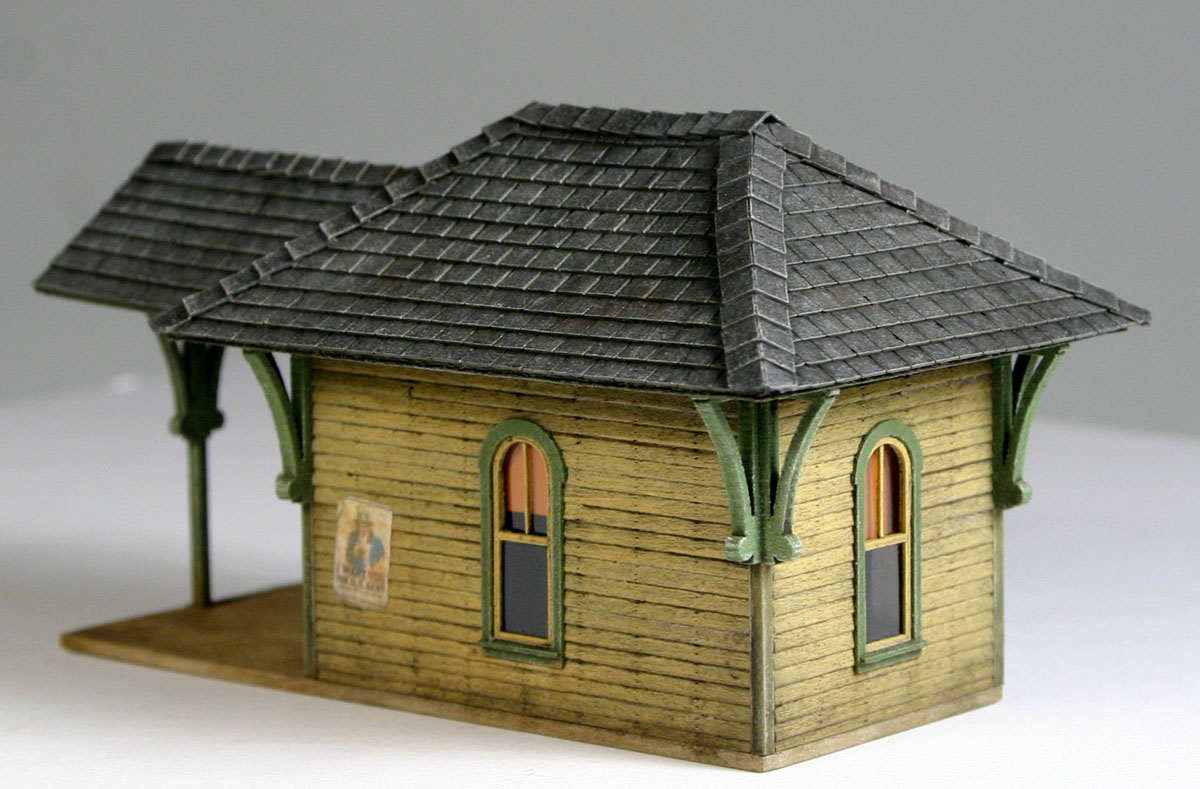
Here is yet another FSM build. This time Westside Auto. I made a few
changes when building my version. George painted the main building in
buff and red. However, after having just done the Brownsville Station
exactly the same way I was weary of this color scheme. I used off white
and green instead. I think it has worked out quite well.
Because of
the main building color change I felt that the patina colored roof over
the back shed was going to add too much green. I still wanted the same
texture though so I used the same roofing material, but painted it as
tin instead of the oxidized copper.
I could have possibly also
changed the appearance of the storage shed, but I wanted to try George's
method of painting and weathering. Therefore, I did it per
instructions.
Overall I am happy with the way the diorama has turned out. Not the number one on my list of favorites, but fairly close.
Thursday, July 22, 2021
Westside Auto by FSM
Friday, April 30, 2021
Building FSM Tribute Kit #1 by Bar Mills Pt.2
This is the last installment of the Bar Mills FS&M Tribute kit #1 build. I didn't use the colors of the pilot for the remaining two building. I painted the walls of the engineering building in greenish yellow. It was the first time I used that paint although it had been sitting on the shelf for good 9-10 years. I've been hesitant to try it. To my surprise it lost all green though. I also used a gear charm as a sign. I bought a bag of these thinking I could use them as a clutter, but they are just too big for the HO scale.
I used green/green painting scheme for the link and chain company. It had been so long since I painted another building that way. I had to invert the colors of the "painted" sign though to make it noticeable. The black background with white letters would have drowned in the green.
I thought I did a better job on the engineering building, but the FB crowd favorite was the link and chain company. Surprise!
Thursday, April 29, 2021
The Brownsville Depot by FSM
The Brownsville Depot by FSM was one of the newer builds. The pilot had the earth color walls, green trim and red roof. I switched the colors around a little. I went with the buff walls, red trim, and green roof. Sounds familiar? I used similar color scheme quite often in the past year or so. Here is why. Correct me if I am wrong, but my understanding is that the railroads used to paint their structures in the same colors. I had the same person in mind when I built the railroad structures. This is my excuse. I built The Brownsville Depot for a different person though. I just thought it would be nice to make it somewhat unique by changing the color scheme. I don't know about you, but I like it.
Wednesday, April 28, 2021
Buckley Station by FOS
Buckley Station was one of the free FOS kits. I wanted to paint it using the same buff and red combo to match the other trackside structures I built recently, but the pilot model had the same painting scheme. I wanted something different. I didn't go very far though. I only changed the trim color to green. Also, the pilot had a tarpaper roof. No surprise there. It was free kit after all! To me the roof was lacking some character so I upgraded it with the Bar Mills asphalt shingles. I think it looks better that way.
Tuesday, April 27, 2021
Foster's Milk by FOS
FOS Mothly Club kits. The reason for picking it as the next build was it being a trackside structure. If I had a layout it would have been a wonderful addition. However, I don't have one and building a diorama with a section of the track isn't what I often do. While some might acquire my builds to display, but I think the majority intend to use the structures on their layouts. That 6-8 inch section of track would be nuisance. I bet it would get cut off or at least it is what I would do. Then why would I spend time adding it? Perhaps I could do a diorama without the track i.e. with the imaginary track that starts where the diorama ends. I may try that some day, but Foster's Milk project was just that, the structure build.
Monday, April 26, 2021
The Crossing Sheds by FOS
Finishing where I left off right before Christmas. Things just didn't go as planned...
As I sometimes do I got these sheds to get over the threshold for a FOS free kit although I could have scratch built them with ease. Looking back, I probably should have bought some castings instead or something that comes out way better when cut with a laser than a knife. Anyway, I was looking for a quick project and I had these sheds so I built them. One as is and the other with corrugated metal roofing.
Thursday, December 24, 2020
Building FSM Tribute Kit #1 by Bar Mills Pt.1
I am going through the backlog of the builds. I am trying clean the house so to speak before the end of the year. One is supposed to do that before Christmas, but I am late already. The best I can do is to clean it before the end of 2020.
Next up is Bar Mills FSM Tribute kit #1. I was asked to build T.J.Reiley's only, but since I didn't have it separately I built the one that came as part of the larger release consisting of three structures. In true Bar Mills fashion the kit contains minimal amount of the stripwood. Anything that can be laser cut is. That speeds up the build quite a bit. The only part that I built board by board was the water tank. The departure from earlier kits was the way the rafters are done. The kits from 5-10 years ago used to have them precut in a comb shape. Building T.J.Reiley's I had to cut the rafters by hand. The walls still had the slots cut in them so the length was not critical. The only requirement was not to make them too short. The slots also
helped keeping the rafters straight. Other than that, it was pretty much standard Bar Mills build. One building down, two more to go.